
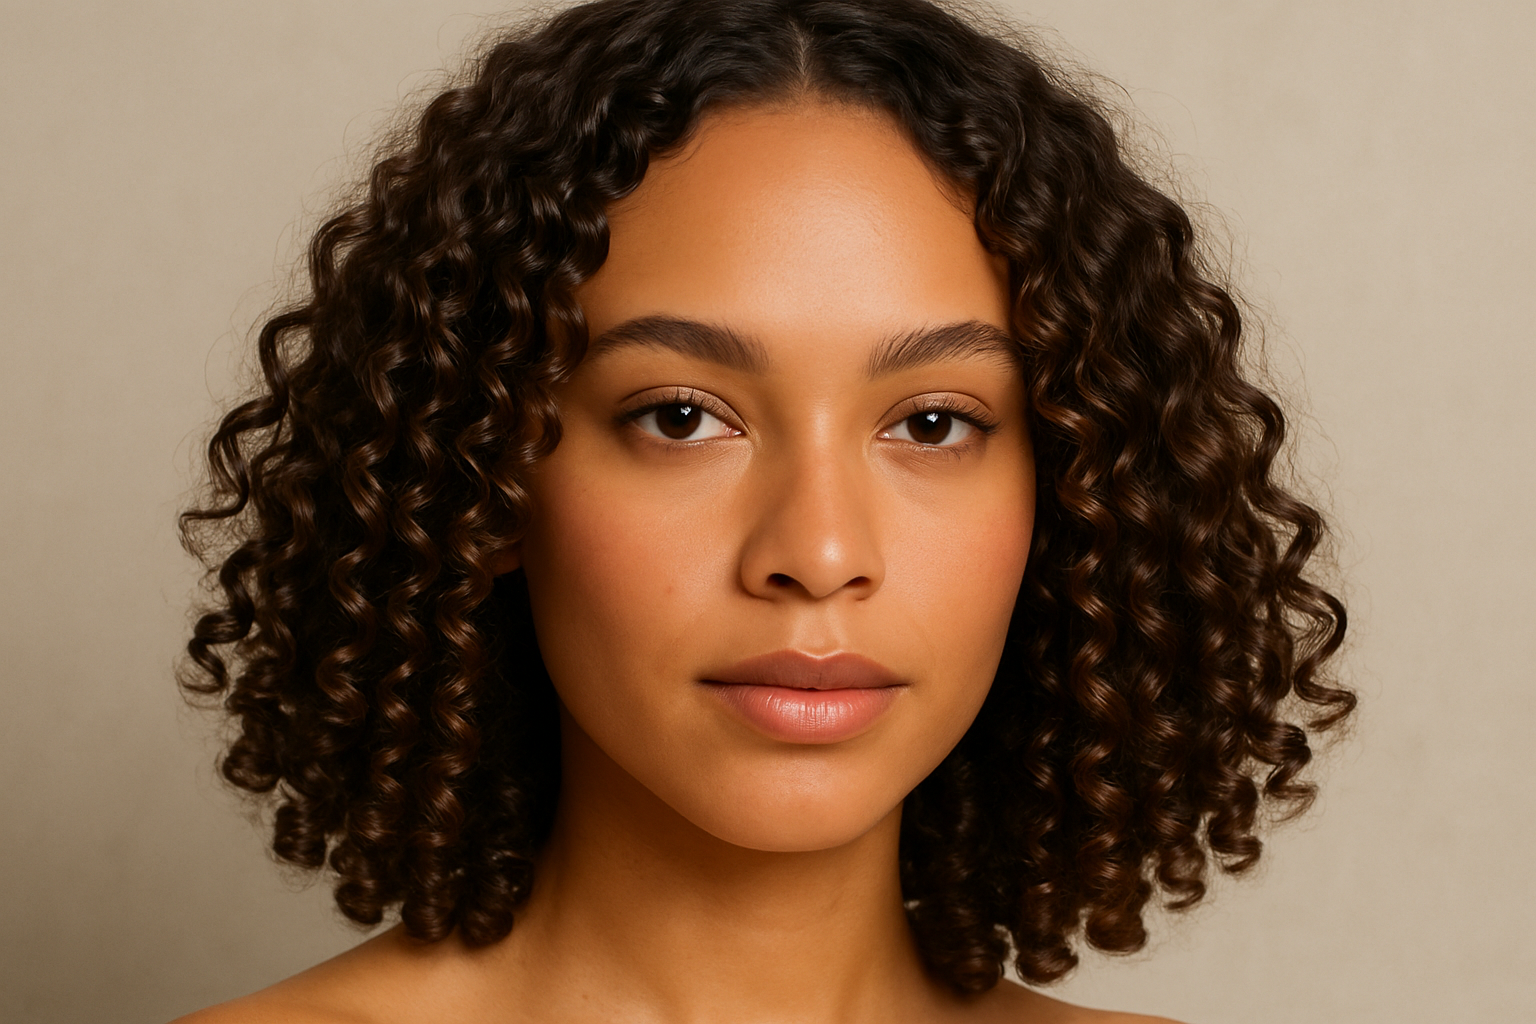
If your curls sit at shoulder length, you know the balance: enough weight for bounce, but with the risk of uneven shape and midday frizz. This tutorial breaks down how to style shoulder-length natural curls (think 2C–3C) for definition, volume, and movement—using only practical steps that fit busy mornings.
Who This Tutorial Suits
- Hair type: Natural curls, from loose waves (2C) to tight ringlets (3C).
- Length: Shoulder-grazing to just above the collarbone.
- Density/thickness: All densities; adjustments for fine or thick hair included.
- Skill level: Beginner-friendly—no advanced techniques or tools required.
What You’ll Need
- Sulphate-free curl cleanser and conditioner
- Microfibre towel or cotton T-shirt for drying
- Wide-tooth comb or The Tangle Bloom Brush
- Leave-in conditioner or curl cream
- Light gel or mousse (for definition and hold)
- Diffuser attachment for your hairdryer (optional, for volume and speed)
- Clips for root lift (optional)
Step-by-Step: 10-Minute Defined Shoulder-Length Curls
1. Start on Freshly Cleansed, Damp Hair
- Wash and condition your hair as usual, focusing on hydration and minimal friction. If possible, detangle with fingers while conditioner is in.
- Gently blot excess water with a microfibre towel or an old cotton T-shirt. Avoid rough towel-drying, which disrupts the cuticle and causes frizz.
2. Detangle and Section
- With hair still damp, use a wide-tooth comb or The Tangle Bloom Brush to gently detangle, starting from the ends and working up. This keeps curls clumped together for better definition.
- Optional: Section your hair into 2–4 parts (especially if dense) for even product distribution.
3. Apply Leave-In Conditioner or Curl Cream
- Work a small amount of leave-in or curl cream through each section, raking with your fingers or gently praying hands (smoothing between palms).
- Focus on the mid-lengths and ends. If your hair is fine, use less product to avoid weighing down the curl pattern.
4. Define with Gel or Mousse
- Scrunch a light-hold gel or mousse upwards from tips toward roots. This encourages curl formation and adds gentle hold.
- For even more definition, try the “finger-coiling” method: twist individual curls around your finger, especially those at your face-framing sections or ends prone to frizz.
5. Dry for Volume and Shape
- If air drying, gently arrange curls into place and avoid touching as they set.
- For more volume or faster drying, use a diffuser on low heat/low airflow. Hover at the roots, then cup lengths and ends, holding for a few seconds at a time. Avoid high heat, which can cause frizz and shrinkage.
- Optional: Use small clips at the roots for extra lift while drying.
- Once dry, “scrunch out the crunch” if using gel—gently squeeze curls upwards to soften the hold and boost bounce.
Troubleshooting & Common Mistakes
- Frizz after styling? Too much towel-drying, not enough leave-in, or touching the hair before it’s fully dry can cause this. Try air-drying more or switch to a microfibre towel.
- Curls look stringy or piece-y? Distribute product more evenly and use less if hair is fine.
- Flat roots? Diffuse upside-down or use root clips while drying. Try fluffing roots gently with fingertips after drying for more shape.
- Hard, crunchy curls? Scrunch out the cast after drying—don’t be afraid, it will soften and add movement.
Quick Variations for Different Needs
- Extra hydration: Mix a drop of lightweight oil with leave-in conditioner for dry ends.
- Second-day refresh: Lightly mist curls with water, reapply a tiny amount of curl cream, and scrunch. Diffuse or air dry.
- Tighter curl patterns: Use finger-coiling throughout, not just on ends.
- Waves (2C): Use less product and focus on gel for hold—avoid heavy creams.
Maintaining Defined Shoulder-Length Curls
- Sleep on a silk or satin pillowcase to reduce friction and preserve definition overnight.
- Pineapple your hair (loose, high ponytail) for volume retention.
- Deep condition every 1–2 weeks to combat dryness and keep curls springy.
- Trim regularly to prevent split ends and maintain shape. Consider professional trims or learn to dust ends yourself—see how to trim curls at home.
Shoulder-Length Curly Hair FAQ
- How can I prevent halo frizz at my crown?Be gentle when applying products at the root, and finish drying with a diffuser or by air-drying without touching. Try root-clipping for lift and separation.
- How often should I wash my curls?2–3 times per week works for most, but listen to your scalp and adjust as needed. Overwashing can dry curls; under-washing may cause buildup.
- What’s the best way to refresh curls on non-wash days?Lightly mist with water or a leave-in spray, then scrunch and reshape with a small amount of styling product. Diffuse briefly if needed.
- Can I use oils or serums on natural curls?Yes—light oils (like argan or jojoba) can seal in moisture and add shine, but use sparingly to avoid weighing down curls.
- What if my layers are uneven?Try finger-coiling for definition, or book a curl-specific dry cut to even out shape. Check best cuts for curly hair for guidance.
With this daily routine, your shoulder-length curls can look defined, healthy, and full of movement—without endless steps or special tools. If you’re ready to experiment, see easy curly updos and how to choose the right curl cream for more inspiration.
Some links may lead to products available through Hair & Glory. Choose products based on your own hair needs and preferences.